Vulnerability Management
A guide on using Monad to prioritize and route vulnerability findings.
Overview
This guide outlines the process of leveraging Monad to efficiently prioritize vulnerability findings and route them from an input. In this example, we'll be using Tenable as the input and Snowflake as the output. The primary functions include:
- Extracting raw vulnerability data from Tenable scans
- Filtering out low-severity findings to focus on high-priority issues
- Routing network-related vulnerabilities directly to the network security team AND to the vulnerability management team
Key Benefits
- Reduced noise from low-severity findings, allowing teams to focus on higher priority issues
- Automated routing of network vulnerabilities to the team best positioned to remediate the findings
These are a few common processes that vulnerability management teams perform to enable them to quickly identify, prioritize, and address significant security vulnerabilities.
2. Navigate to https://app.monad.com/
3. 1. Navigate to the side panel and select "Pipelines" 2. Next, click "Create new pipeline"

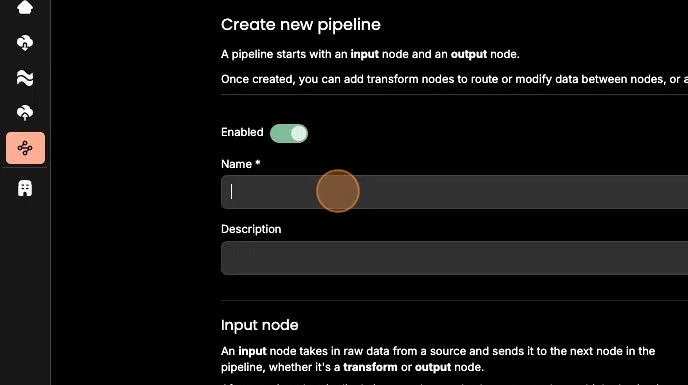
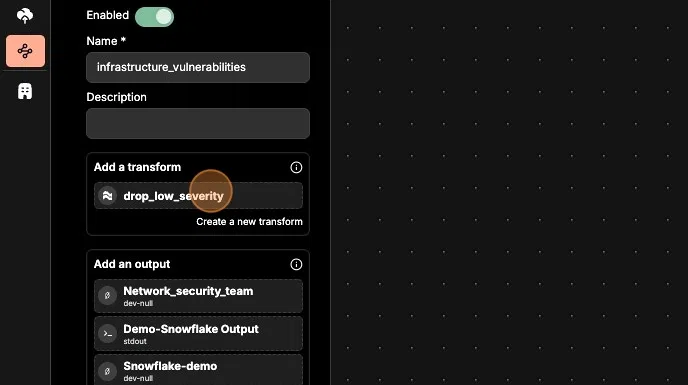
4. 1. Give your pipeline a descriptive name 2. Next, create a new input or select an existing input 3. Next, create a new output or select an existing output 4. To complete pipeline creation, click "+Create"
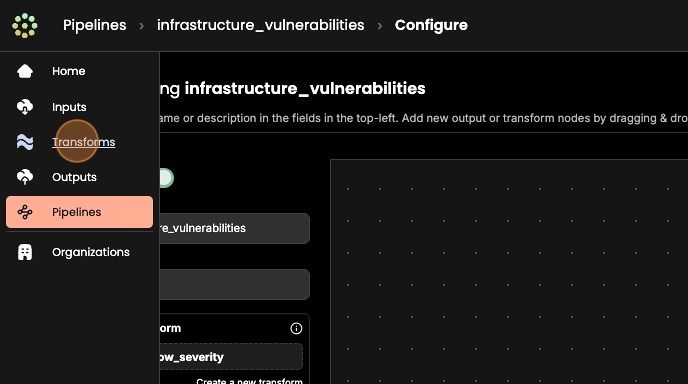
5. 1. Next, let's create a data transform that will drop all low severity vulnerabilities from the pipeline. 2. From the side panel, select "Transforms" 3. Click "+ Create new transform" 4. Click "Add an operation"
6. 1. From the drop down menu and select "drop record where value eq"
Click "+ Create"
2. Configure "key" to "severity" and "value" to "Low"
3. Wherever this transform is applied, it will filter out all matches on the key

7. Now that we've created our transform, let's apply it to the pipeline so that we can filter out low severity findings.
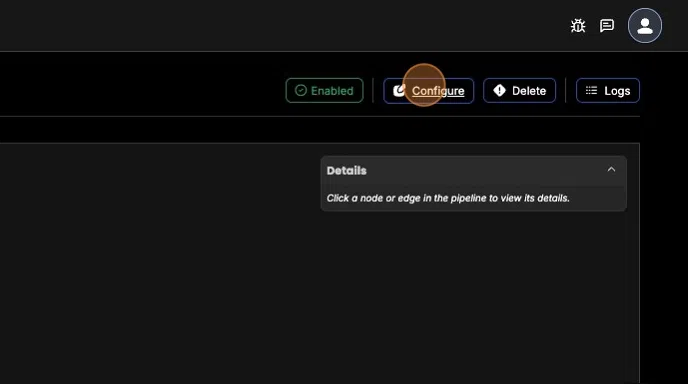
To apply a transform, we must first remove the default 'always' condition.
- To do so, click "Configure" to enter configuration mode
- Select the "always" icon between the two nodes
- Click "Remove" and "Confirm"
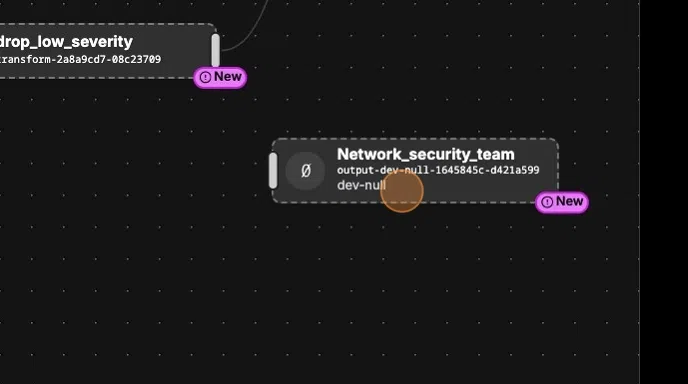
8. Next, drag and drop the transform in between the two nodes and link each node by clicking on the edges and dragging the arrow to connect with the following node.
9. Now that we have our vulnerability data flowing into our main destination with low severity findings being filtered out, let's configure data routing to ensure that specific findings reach the network security team's preferred output destination.
- Make sure that the new output destination that you'll be using already exists.
- Next, enter configuration mode on your pipeline to drag and drop the output as the second destination.

10. 1. Next, connect the transform node to the new output node by dragging edge and connecting the two nodes. 2. Next, click on the 'always' tag on the edge and navigate to the top right corner and click 'edit conditions'
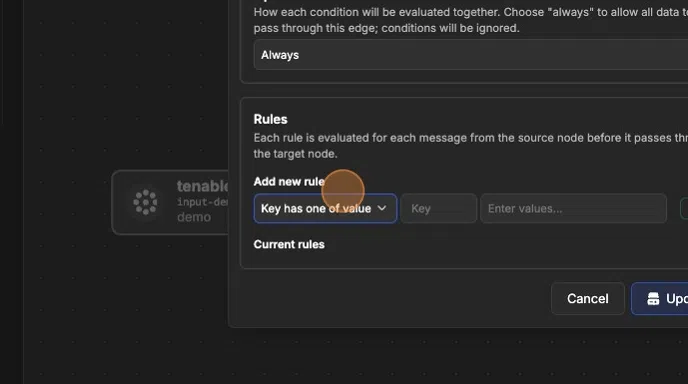
11. To ensure all vulnerability findings with the 'access_vector' as 'Network are sent directly to the network security team:
- From the "edit conditions" window, select the "all" as the Operator.
- Under the "Rules" > "Add new rule" section, select "Key has one of value"
Type "access_vector" in the 'key' field and "Network" in the 'Enter values..' field. - Make sure to press enter, otherwise the rule will not be created.
- Click "Update" to save the routing condition.
- Lastly, click "Save" to update your pipeline.