Security Operations
A guide on using Monad for operational efficiencies to respond to threats more efficiently.
Overview
This guide outlines how to leverage Monad to transform AWS CloudTrail logs and route specific IAM events to the appropriate teams. By applying efficient transformations to clean up the data and routing it appropriately, this solution introduces significant cost savings and operational efficiencies to enable security teams to respond to threats more efficiently.
The primary functions applied in this guide include:
- Renaming and flattening key fields in AWS CloudTrail logs
- Dropping unnecessary data fields to reduce ingestion volume and costs
- Routing IAM-related events directly to the IAM security team's Snowflake instance for immediate review
Outcomes
- Cost Savings: By eliminating noise from unnecessary fields and reducing the volume of ingested data, you minimize storage costs and streamline data pipelines.
- Operational Efficiency: The transformations make the data easier to query and work with, reducing the time spent on manual data manipulation and improving overall workflow efficiency.
- Automated Event Routing: By routing critical IAM events (such as user creation or policy changes) directly to the IAM team, you ensure that important activities are flagged for immediate review without manual intervention.
With this approach, security teams gain better control over AWS CloudTrail data, enhances response times for critical security events, and optimizes resources to focus on high-value activities.
2. Navigate to https://app.monad.com/
Tip: Note: For this guide, we will use existing inputs and outputs. The setup instructions for integrations can be found throughout in the [[Inputs]] and [[Outputs]] sections of our docs.
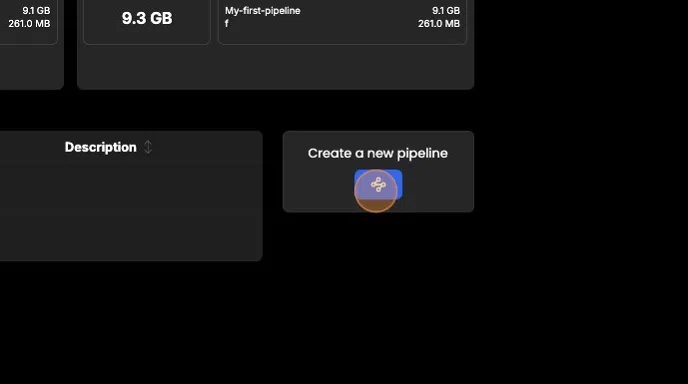
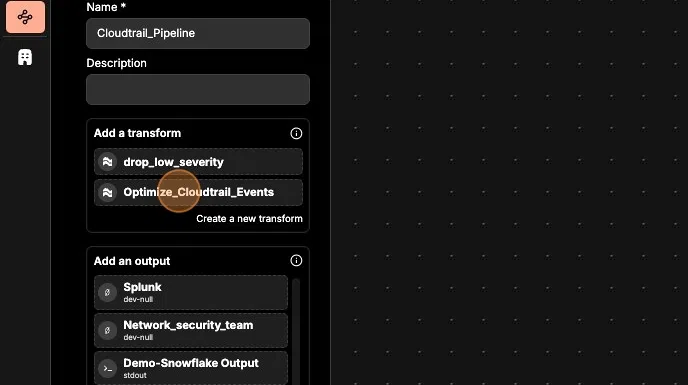
Creating a New Pipeline
- Click "Create a new pipeline."
- Give your pipeline a descriptive name, such as "CloudTrail_Pipeline."
- Create or add your existing AWS CloudTrail input connector.
- Create or add your existing Splunk output connector.
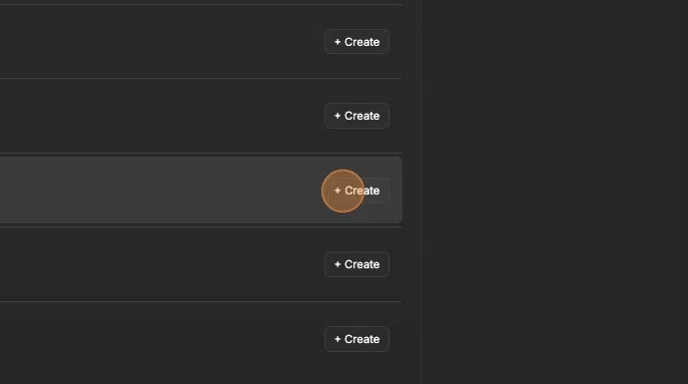
- Click "+Create" to finalize and create your pipeline.
Creating and Optimizing a Transform
- Click "Transforms" in the side panel.
- Click "Create new transform."
- Give your transform a name, for example, "Optimize_CloudTrail_Events."
- Next, we'll create a few transform operations to optimize our CloudTrail events.

Rename Fields
- Click "Add an operation"
- Click "+Create"
- In the key-value fields, type
eventNamein the first field andactionin the second field. - Click "Add"
- Click "Add an operation."
- Click "+Create."
- In the key-value fields, type
userIdentityin the first field andactorin the second field. - Click "Add."

Flatten User Identity Properties
- Click "Add an operation."
- Click "+Create."
- Select "flatten" from the operation list.
- Type
actorin the key field (previously renamed fromuserIdentity). - Click "Add."
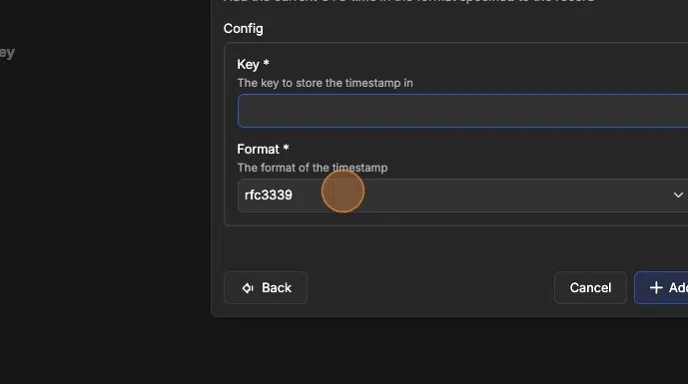
Add Timestamp
- Click "Add an operation"
- Click "+Create"
- Select the "timestamp" operation.
- In the "Key " field, type
event_seen_at. - Select the "iso8601" option.
- Click "Add"
Drop Unnecessary Fields
- Click "Add an operation."
- Click "+Create."
- Select "drop key where value eq" from the operation list.
- Drop the
eventCategory.tlsDetails.clientProvidedHostHeaderfield. - Click "Add."
Applying the Transform to Your Pipeline
- Navigate to "Pipelines" from the side panel.
- Click on "CloudTrail_Pipeline."
- Click "Configure."
- Apply the "Optimize_CloudTrail_Events" transform to the pipeline:
- First, remove the default "Always" condition.
- To remove it, click on the "Always" icon and either press backspace or click the "Remove" button located in the top right corner of the pipeline builder page.
10. ### Adding the Transform and Configuring Data Routing
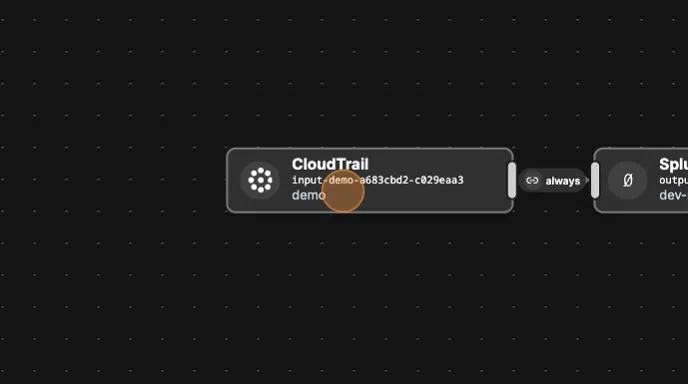
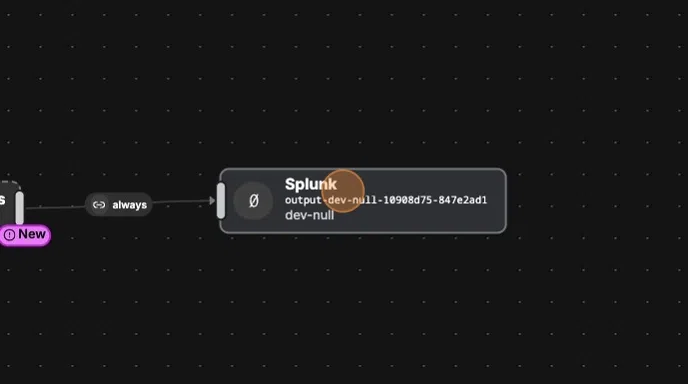
- Drag the "Optimize_CloudTrail_Events" transform into the pipeline builder and place it between your input and output.
- Drag the edges of each node to connect them, creating a connection between all three components: input, transform, and output.
Now that the "Optimize_CloudTrail_Events" transform is applied, we'll add our IAM Security Team's preferred output destination, Snowflake and then we'll apply intelligent data routing to ensure the IAM team receives their highest-priority Cloudtrail events.
Adding the IAM Team's Snowflake Output and Configuring Routing
-
To add the IAM team's existing Snowflake output:
- Remember, for brevity, we are using existing connectors. To set up new connectors, refer to our documentation.
-
While in configuration mode, drag the Snowflake connector into the pipeline builder graph.
-
Drag the edge of the "Optimize_CloudTrail_Events" transform and connect it to the "Snowflake_IAM" connector.
In the next step, we will apply conditional routing logic to this edge to ensure the IAM team receives key IAM-related events.
Configuring Routing Conditions
- Click "Edit conditions" in the top right corner.
- In the 'Operator' section, click the dropdown menu and select the "and" option.
- Under the "Rules" section, add a new rule and ensure it is of type "Key has one of value."
- In the "Key" field, type "action."
- In the "Values" section, add the following values, pressing Enter after each one:
- CreateUser
- AttachUserPolicy
- CreateAccessKey
- DeleteUser
- DeleteRole
- AttachRolePolicy
- Click "Update."
- Finally, save the changes to your pipeline by clicking "Save" in the top right corner of the page.

Conclusion
Congratulations! You've successfully completed the guide on transforming AWS CloudTrail logs with Monad and routing key IAM events efficiently. By applying these transformations, you've reduced data volume, cut costs, and streamlined operations, enabling your security teams to respond quickly to critical events.
Results
- Cost savings through reduced data ingestion and storage.
- Improved efficiency with cleaner, easier-to-query CloudTrail data.
- Faster threat response by automatically routing high-priority IAM events to the right teams.
With this setup, your security teams are better equipped to focus on critical tasks and maintain a secure cloud environment. Great job!